This post was originally part of my series on Python for Feature Film on my personal site, but is being ported here with minor changes. The dates have been adjusted to match release dates for the projects.
In Part 3 of this blog series, I’ll be covering what it was like to work on The Amazing Spider-Man 2.
This is the 5th Spider-Man feature film from Sony, and is part of the reboot/alternate universe starring Andrew Garfield as Spidey.
This project was a last minute project for me. Imageworks was light on work post Cloudy2 and I was about to be let go, but a last minute shift up in plans on another show meant I got to stay, and I’ve never been in that position since, fortunately.
Layout and Pipeline: Doing Double Duty
For a lot of our Visual Effects features, we tend to combine the Layout and Pipeline departments. This is because layout on these shows can become quite technical and it’s to our advantage to have them combined.
Other studios do similar things, for example some studios combine their matchmove and layout departments.
Fortunately, I had been working in Layout at Rhythm and Hues, and these skills came in very handy for this.
I ended up doing a lot of layout on this show, and in fact the opening shots in that trailer are all mine. It really helped having both the artistic and technical grounding, because it let me work more efficiently than I normally could have.
What is Layout
Layout may be a term unfamiliar to some of the people reading this.
We essentially are the equivalent of a virtual cinematographer. Our job involves:
- Creating all camera motion. We’re in charge of the composition and the camera is like a character in its’ own right.
- Staging the scene by placing the environment pieces and characters. This too plays into composition. Think of it like placing people on a stage, and then letting the actors take over.
- Prelighting (depends on the studio). Often we need to add placeholder lighting and effects to sell the scene, and make it convincing before the actual departments get in there. It’s all about selling intent.
- Continuity of sequences. We’re often working on 100s of shots that all need to flow into each other, and be physically believable that they are in the same space.
We basically take the storyboards, or (increasingly common) the previs, and recreate it with our actual set and actual characters.
For example, in the trailer above, the very first shot of him falling into the city is mine. I animated the camera, placed the buildings in their respective positions and set up the pacing of the shot by roughly animating Spider-Man.
This is then handed off to an animator to actually animate it properly.
Python Tools for The Amazing Spider-Man 2
Since I was more preoccupied with layout on this show, I didn’t build a ton of tools, but there were a few that came in handy.
Quick Layout
The final battle sequence with Electro required us to be working in a very heavy environmet where we had to swap out set pieces for ones in various stages of destruction.
For example, if Electro destroys a pylon, we then need to make sure that it stays destroyed in all the other shots after that.
Since they were really wrecking this environment, I built a simple UI using Python and PyQt that let all the layout artists (including me), simply choose the state of predefined elements in the scene.
Each element had a group of radio buttons that let them decide whether they were intact, partially destroyed, fully destroyed etc… This saved a ton of time and reduced potential errors because layout artists didn’t need to manually find the assets and swap them out, they could just click a few buttons and, BAM!, they were done.
We used this again for future shows like Spider-Man: Homecoming
Lens Distortion
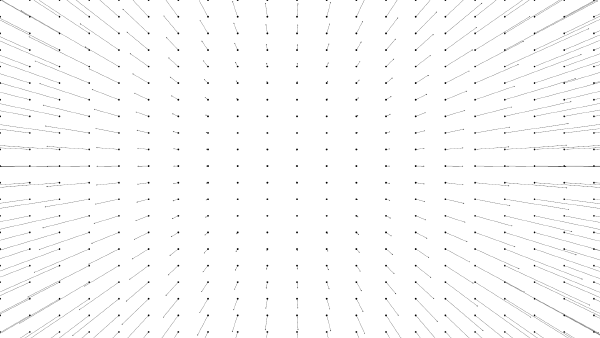
In Visual Effects movies, because we are shooting through a real camera lens, we pick up the imperfections of these lenses. Most importantly, we pick up the lens distortion.
This is non-ideal for us as our CG is undistorted, so when we ingest the plates, we use a calibration profile to undistort the images. This lets us work against a flattened plate. When we output our final images, we then redistort them back to match the original camera.
However, clients are increasingly adamant that we present everything with the distortion, even earlier on in the process. Even our animation playblasts need distortion these days, but those are just simple OpenGL captures from the viewport.
I set up a quick python script that would do the following:
- Find the lens distortion used by the shot
- Generate a Nuke file that would read our images
- Write out these newly distorted images
It’s pretty simple to do, and something a lot of shows are now using, even the animated features like Storks.
